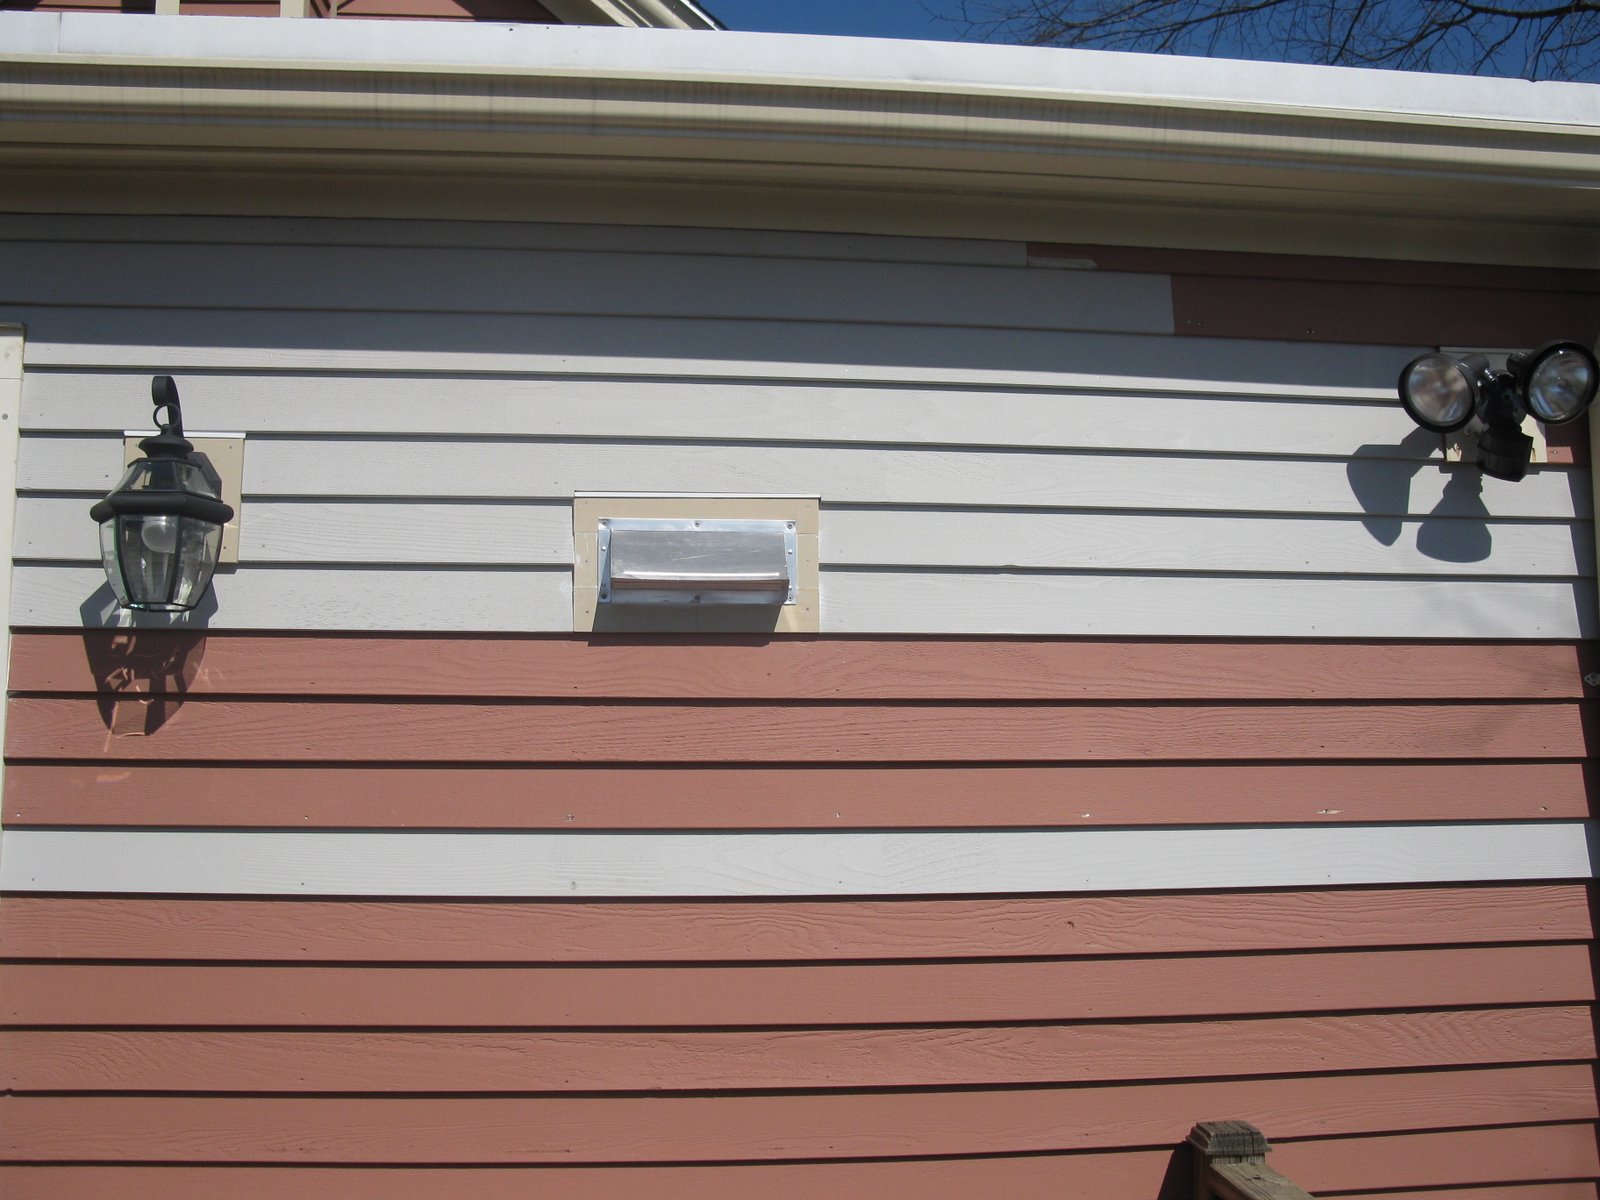
It appears when this house was built provision was made for venting out the rear of the microwave into the standard 2 4 wall up the cavity inside the wall then up through duct work in the attic through the roof.
Venting microwave through wall stud in way.
Basically tear down the wall to install a header saddle jack studs etc.
My microwave oven is mounted to an exterior wall above the stove.
A stud in a wall supporting or otherwise can be cut and boxed.
Think of an turning into a line with a box in the middle.
The manual for the microwave says to absolutely not use flexible ducting.
Total distance is about a foot performance will be barely compromised.
Re install trim or siding.
This usually takes two people.
If a floor joist or a beam is massively in the way you ll need some custom ducting or cancel the job entirely.
It is designed to work like a hood.
I fixed it so that now it vents the kitchen smoke and odors through the wall and outside.
From microwave up into the cabinet is what you have now.
Just use flexible dryer vent and be done.
Connect it all with a piece of flexible dryer vent hose.
Use 3m flashing tape or vycor or tyvek tape to assist ensure that water will not enter the building envelope.
Line up microwave to duct and connect by placing it on the wall bracket or connecting bolts above.
Buy the sheet metal boot that converts from 3x10 rectangle on the top of the otr microwave to 5 or 6 inch round duct.
Sacrifice the cabinet above the stove by snaking an exhaust duct up from the hood over to one side of the stud and then through the wall.
But the builder just left the microwave s fan blowing back into the kitchen.
Studs run vertically through a wall.
Option 1 results in a very twisty exhaust path while option 2 is obviously a ton of work.
Get a dryer vent going from outside to inside of the house.
I saw this done on this old house when they installed a new microwave hood on an outside wall.
If the two rectangular ducts have a combined area greater than that circular one you wont have issues with flow restriction.
Seal all joints with metal tape and get a quality exterior hood with an exhaust flapper.
First double check that your floor joists are lined up well enough that you can get a 10 duct through the floor where you need it.
If you don t want to cut the stud install 2 rectangular ducts on each side of the stud and split the original duct into two.
Install exterior vent hood utilizing proper exterior installation techniques applicable to your siding material.
Photo of unit installed it was heavy and bulky.
Attach two flex elbows and steer around the duct and straight out the wall.
Can anyone think of any other options.
I d cut a generous square at the bottom of the wall so you can cut out the plate in the stud bay.